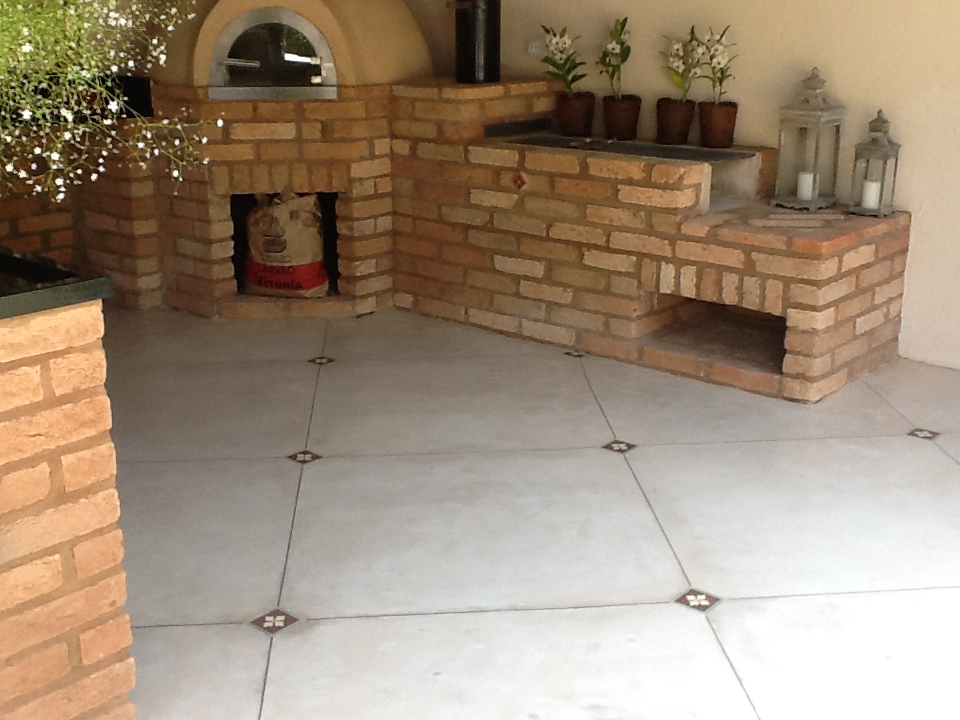
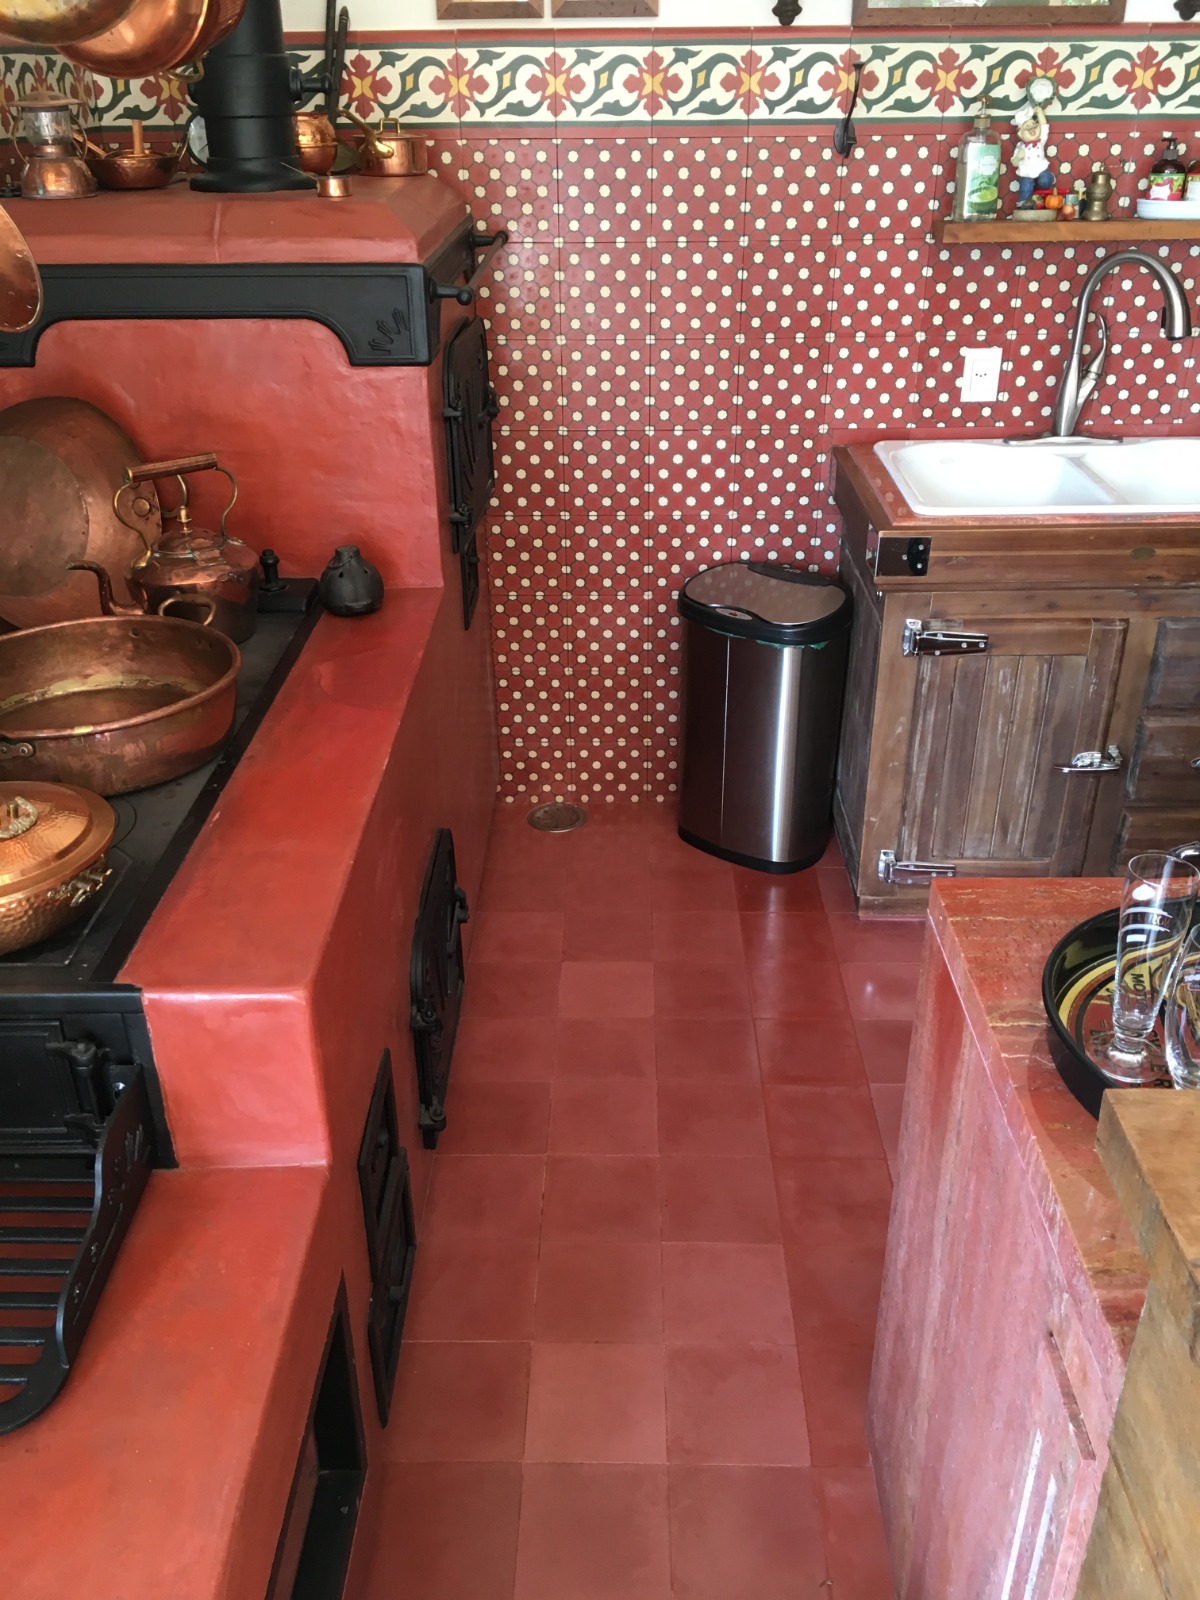
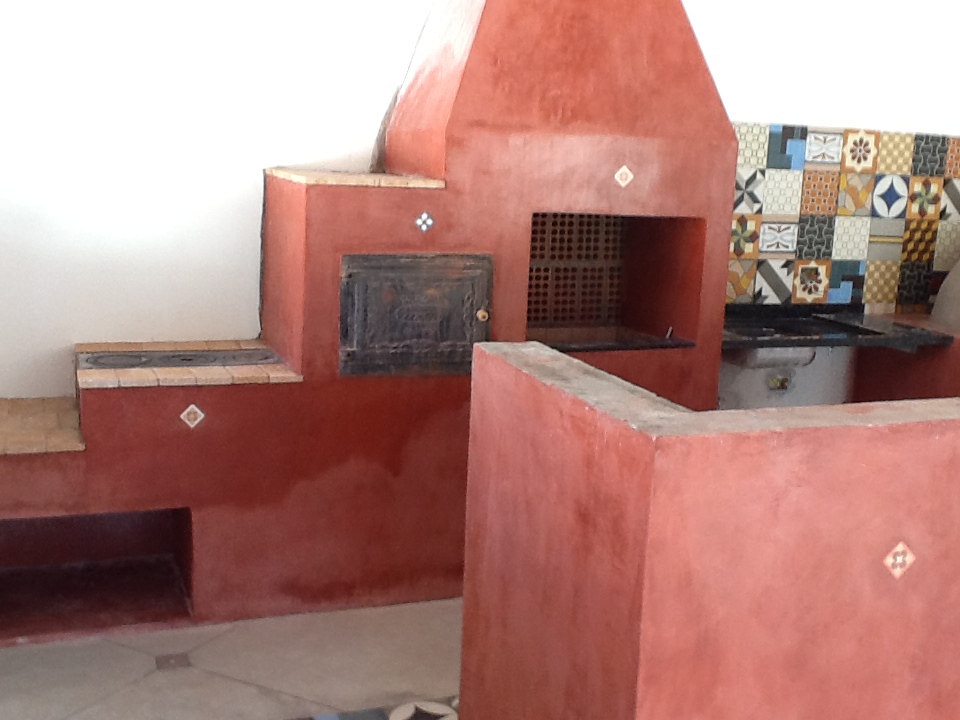
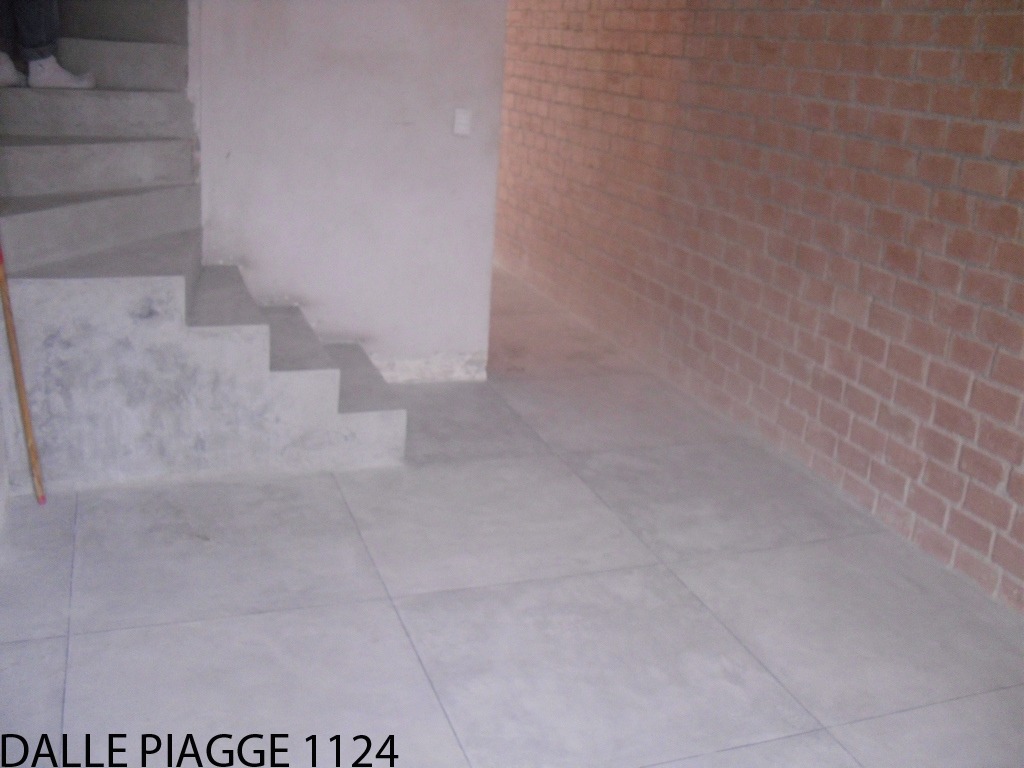
Burnt Cement Application Instruction
Dalle Piagge burnt cement mixture consists of a pre-prepared mass for application on new or old floors, provided they are properly leveled and straightened for good adhesion.The first step is to check the subfloor. As a precaution, make sure there are no loose parts or cracks in it (you can do this with a broom handle, for example) and if the subfloor does not agree, we recommend making a new subfloor.
If everything is OK, clean the subfloor, remove debris and check that the level is constant.
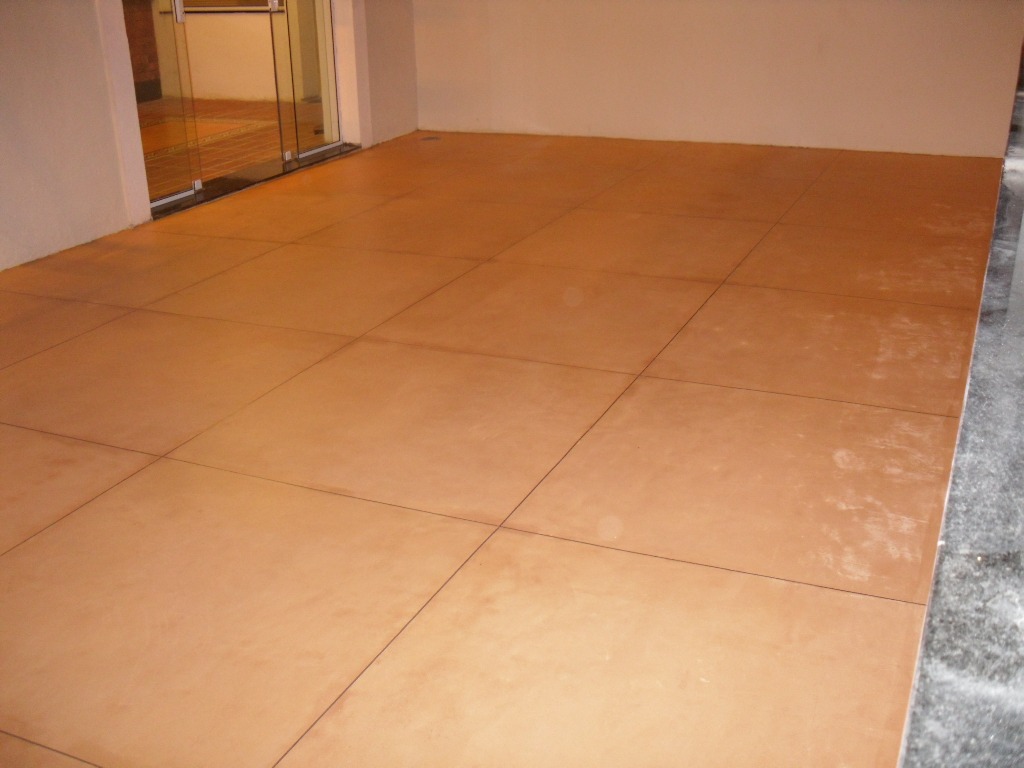
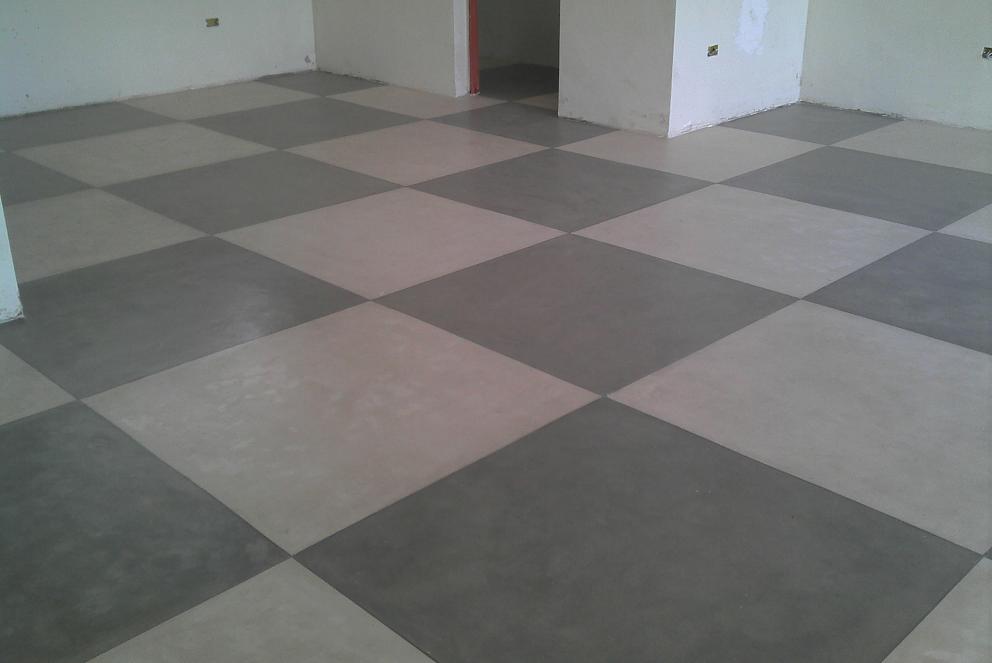
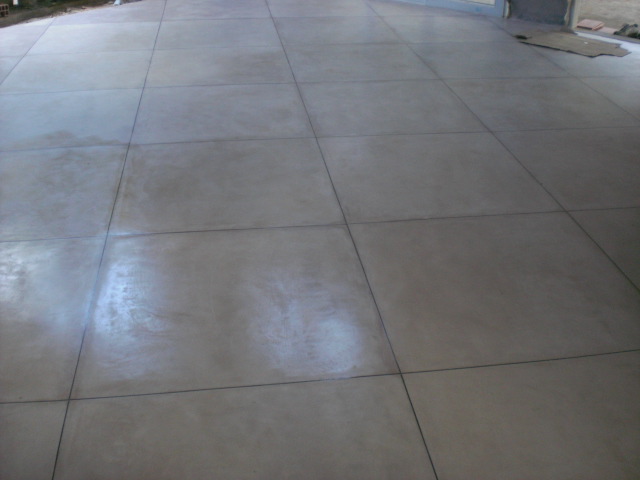
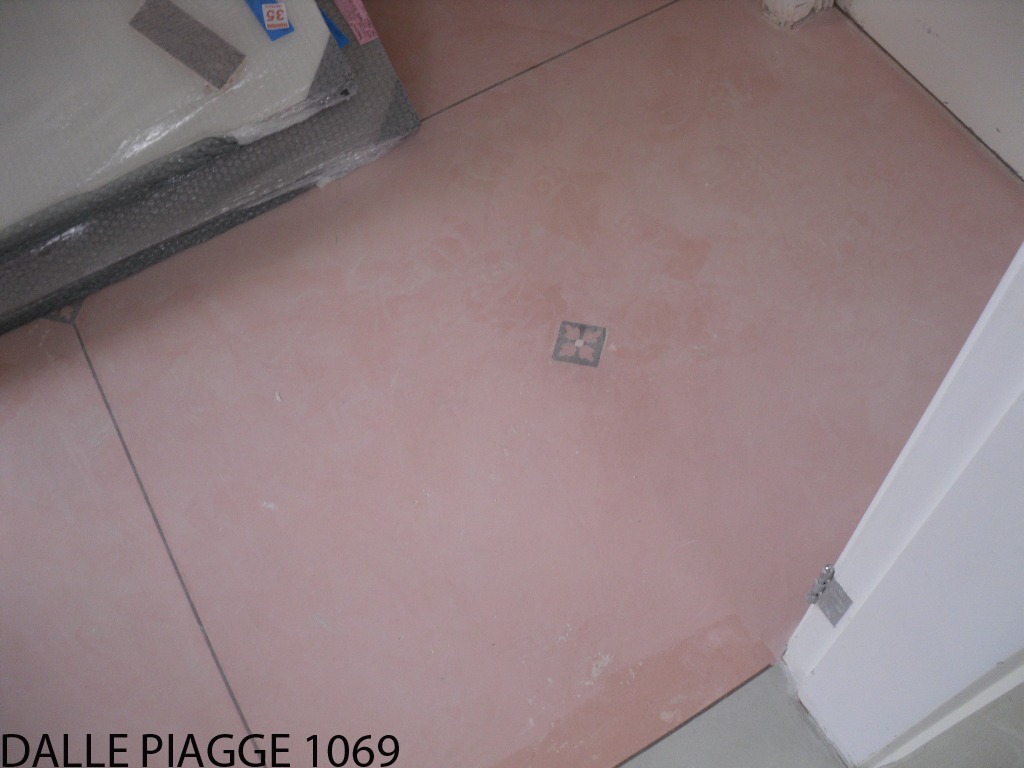
The application of Dalle Piagge putty must be done using a thickness of 3 (three) to 4 (four) millimeters, to avoid the appearance of cracks and lack of material.
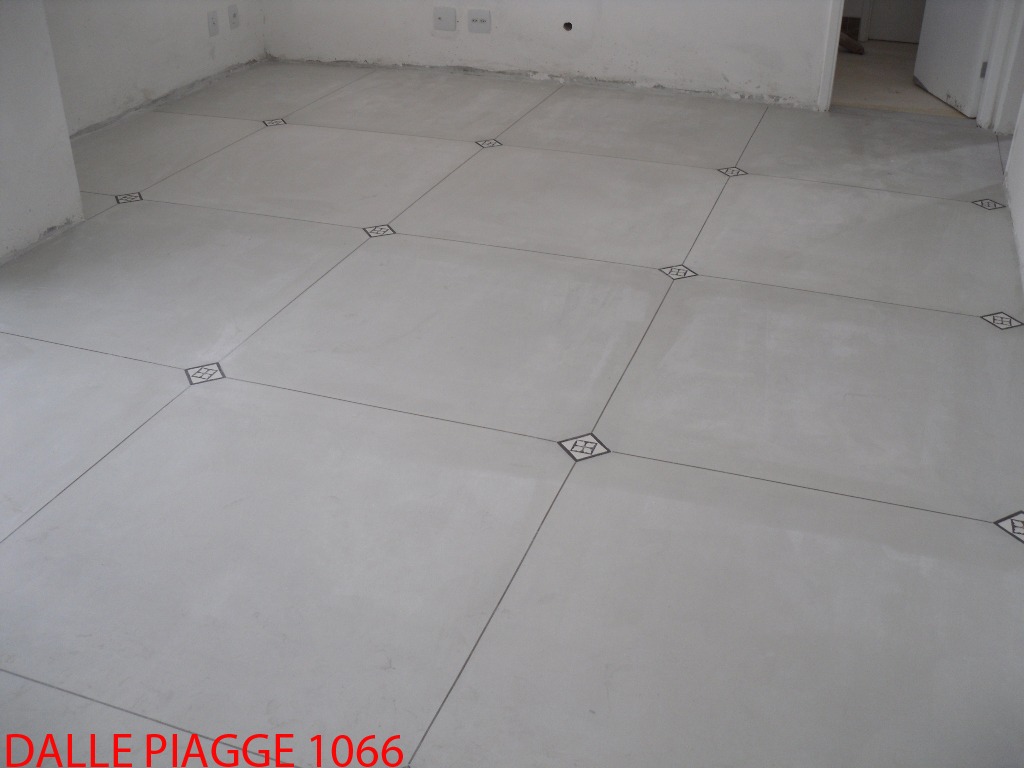
Expansion joints should be used at intervals that vary according to the size, shape and characteristics of the floor to be covered - the most recommended is 1 meter by 1 meter, with up to 1.20 m x 1.20 m acceptable. Areas larger than that run the risk of being difficult to apply once by the applicator, which must be done once and 'amendments' may occur; as well as increasing the rate of cracking that undergoes dilation and in larger frames these cracking may be greater.
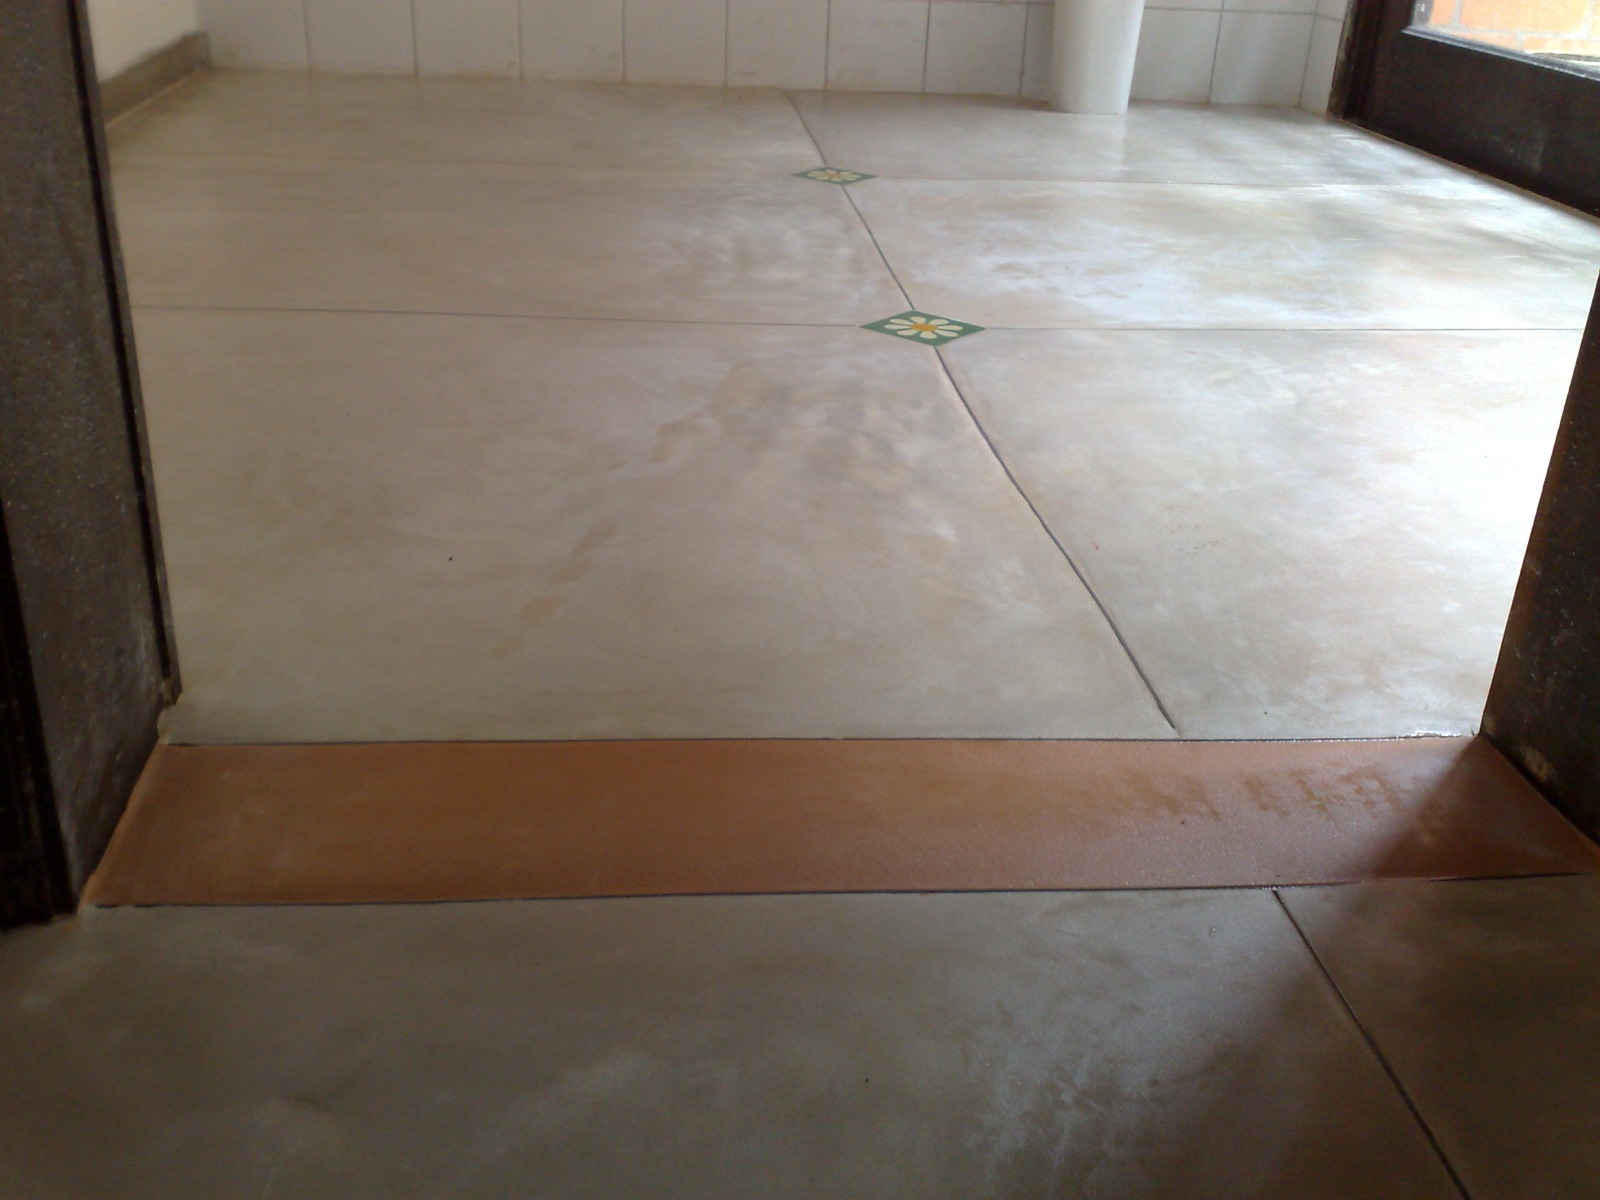
The joints can be plastic, metal, wood, brick depending on the design and materials you want to use in the floor design, Dalle Piagge works with Plastic Joints. The important thing is that any of the materials are bolted to the subfloor, leaving 3 to 4 millimeters above the subfloor to receive the material.
Subfloor Preparation
Important notice: Leave the subfloor clean, dust free. The day before applying the putty wet the subfloor a lot and only use it the next day. It can be wetted with a 'brush'. Moisten the subfloor, taking care not to get saturated with water. The surface can be wetted with a brush.
Preparation and Application of Dalle Piagge Mass
Obtain a clean plastic container, preferably, to mix the material, as indicated.
Mix 50 kg of Dalle Piagge paste with water until it has a pasty texture, then top up with ½ gallon of elastomer. Mix very well until the dough is homogeneous, without lumps.
Paint the elastomer on the damp subfloor in parts with a brush (frame by frame) - then apply Dalle Piagge putty on the still wet 'glue'. It is important not to let the glue dry, as it will fix the putty on the sub-floor, therefore, only the frame where the putty will be applied must be painted at a time.
Spread the Dalle Piagge putty on one of the frames, smoothing it with an aluminum ruler and then finishing with a steel trowel.
Allow to cure for approximately 12 hours, avoiding direct sunlight and strong winds (if possible, cover the floor with plastic sheeting).
After initial curing, wet the floor with water for another 7 days, keeping it always moist. Wait for drying for at least 2 days. Clean it - you can break the floor very lightly with 320 or 380 sandpaper.
After the floor is completely dry, apply the acrylic resin with a lamb's wool roller (hair
short), always in the same direction, with intervals of 8 hours between each application. Apply 2 coats. Do not use a foam roller for this application to avoid the formation of bubbles. Avoid applying the resin on a wet floor, to avoid the appearance of moisture stains.
On a daily basis, after washing the floor, we recommend applying colorless liquid wax, with a clean cloth and squeegee, to prolong the durability of the resin.
